Preventing Color Bleeding in Intricate Ice Designs
Understanding the Science Behind Color Bleeding in Ice Designs
Creating intricate ice designs is both an art and a science. One of the most common challenges faced by artists and professionals in this field is color bleeding. Color bleeding occurs when the pigments used to color the ice spread uncontrollably, leading to a loss of detail and clarity in the design. To prevent this, it’s essential to understand the underlying science.
Water molecules in ice are arranged in a crystalline structure, which can influence how colors spread. When pigments are introduced, they can either bond with the ice or remain suspended in the water. The key to preventing bleeding lies in controlling the interaction between the pigments and the ice. Factors such as temperature, the type of pigment used, and the method of application all play crucial roles.
Temperature is particularly important. If the ice is too warm, the pigments can diffuse more easily, leading to bleeding. Conversely, if the ice is too cold, the pigments may not bond properly, resulting in uneven coloring. Finding the right balance is essential for maintaining the integrity of the design.

Choosing the Right Pigments for Ice Coloring
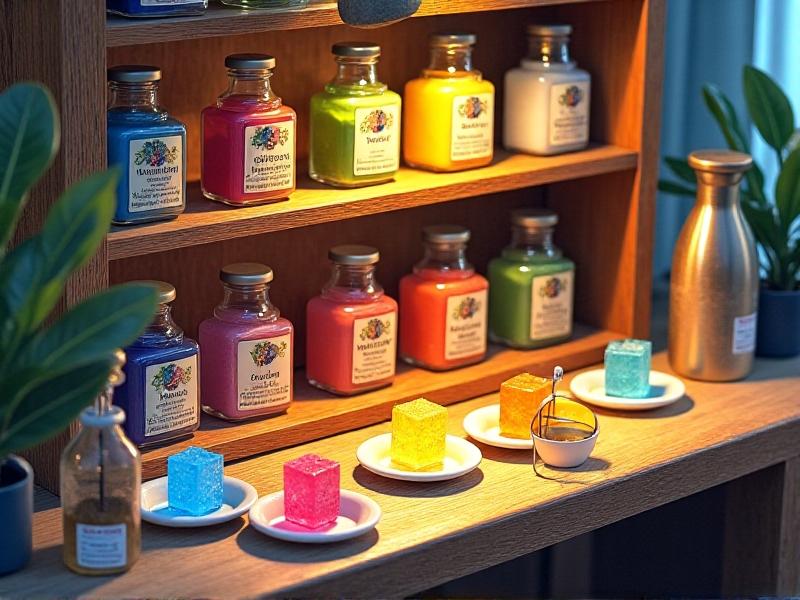
Not all pigments are created equal when it comes to ice coloring. Some pigments are more prone to bleeding than others, making it crucial to select the right type for your project. Food-grade dyes are commonly used because they are safe and vibrant, but not all food-grade dyes perform the same way in ice.
Liquid dyes tend to spread more easily than powdered ones, which can be a disadvantage when working on intricate designs. Powdered pigments, on the other hand, can be mixed with a small amount of water to create a paste, allowing for more controlled application. Additionally, some pigments are specifically formulated to bond with ice, reducing the risk of bleeding.
It’s also important to consider the concentration of the pigment. Using too much pigment can increase the likelihood of bleeding, while too little may result in a washed-out appearance. Experimentation is key to finding the perfect balance for your specific design.
Mastering the Application Techniques
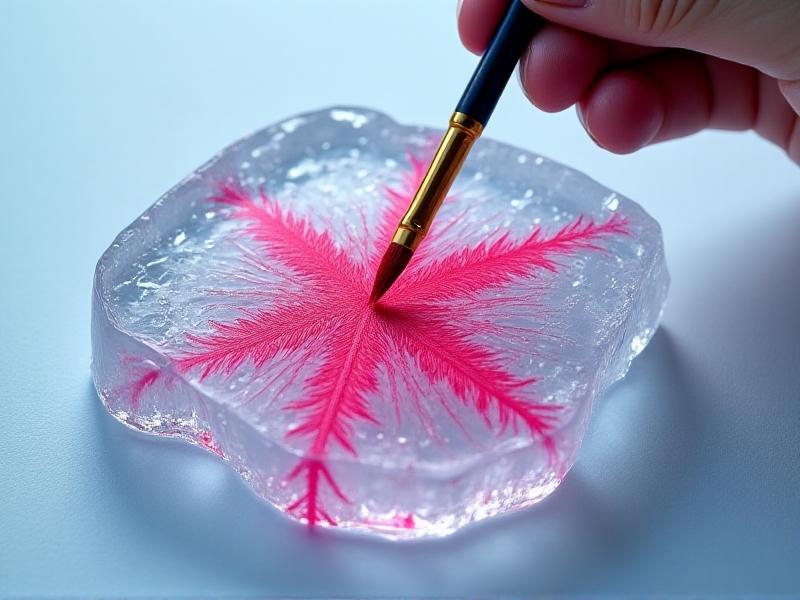
The way you apply the pigment to the ice can make a significant difference in preventing color bleeding. One effective technique is to use a fine brush or syringe for precise application. This allows you to control the amount of pigment and where it goes, minimizing the risk of spreading.
Another technique is to freeze the ice in layers. By applying a thin layer of pigment and allowing it to freeze before adding the next layer, you can create a more stable and controlled design. This method is particularly useful for intricate patterns and detailed artwork.
It’s also important to work quickly but carefully. Ice melts rapidly at room temperature, so the longer you take to apply the pigment, the more likely it is to bleed. Keeping your workspace cool can help mitigate this issue.
Controlling the Environment for Optimal Results
The environment in which you work can have a significant impact on the outcome of your ice design. Temperature and humidity are two critical factors to consider. Ideally, the workspace should be kept at a consistent, low temperature to prevent the ice from melting too quickly.
Humidity can also affect the ice. High humidity can cause condensation to form on the surface of the ice, which can interfere with the application of pigments and lead to bleeding. Using a dehumidifier can help maintain optimal conditions.
Lighting is another important consideration. Bright, direct light can cause the ice to melt unevenly, so it’s best to work in a well-lit but cool environment. Additionally, using a lightbox can help you see the details of your design more clearly, allowing for more precise application.
Innovative Tools and Technologies for Ice Artistry
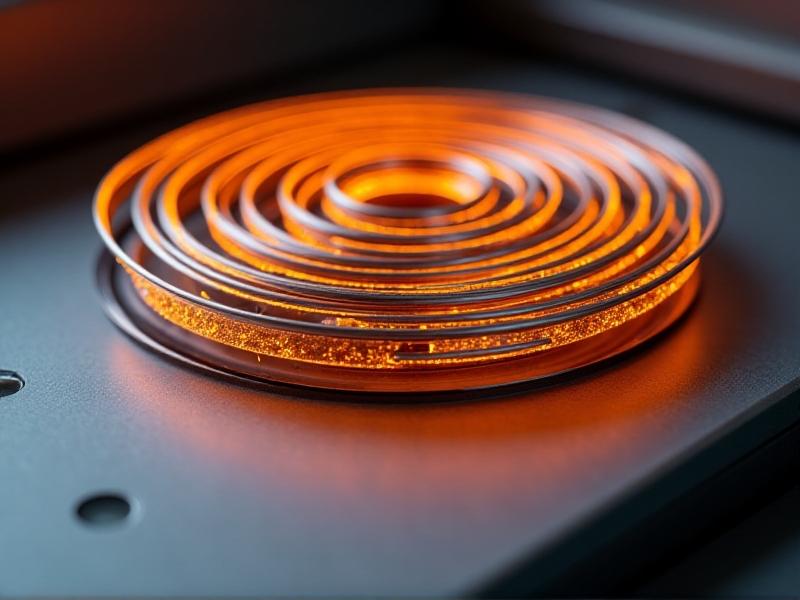
Advancements in technology have introduced new tools and methods for creating intricate ice designs. One such innovation is the use of laser engraving to create detailed patterns on the surface of the ice. This technique allows for precise control over the design, reducing the risk of color bleeding.
Another tool that has gained popularity is the ice printer, which uses a specialized ink to print directly onto the ice. This method is particularly useful for creating complex designs and logos with minimal bleeding. Additionally, 3D printing technology has been adapted to create molds for ice sculptures, allowing for more intricate and detailed designs.
These tools not only enhance the precision of ice artistry but also open up new possibilities for creativity. By incorporating these technologies into your workflow, you can achieve more sophisticated and professional results.
Maintaining the Integrity of Your Ice Design
Once your ice design is complete, maintaining its integrity is crucial, especially if it’s intended for display or use in an event. One way to preserve the design is to keep the ice at a consistent temperature. Using a refrigerated display case can help prevent melting and color bleeding.
Another consideration is handling the ice carefully. Even minor bumps or jostles can cause the pigments to shift, leading to bleeding. Using a stable base and handling the ice with care can help maintain the design’s integrity.
Finally, it’s important to monitor the ice regularly. If you notice any signs of melting or bleeding, take immediate action to address the issue. This may involve re-freezing the ice or touching up the design as needed.
Learning from the Experts: Tips and Tricks
One of the best ways to improve your ice artistry skills is to learn from the experts. Many professional ice artists share their tips and tricks through workshops, online tutorials, and social media. These resources can provide valuable insights into advanced techniques and best practices.
For example, some experts recommend using a combination of liquid and powdered pigments to achieve a more vibrant and stable color. Others suggest using a hair dryer on a cool setting to gently melt the surface of the ice, allowing for smoother pigment application.
Additionally, joining a community of ice artists can provide support and inspiration. Sharing your work and receiving feedback from others can help you refine your skills and stay motivated. By continuously learning and experimenting, you can take your ice designs to the next level.
Experimenting with New Ideas and Techniques
Ice artistry is a constantly evolving field, and there’s always room for experimentation. Trying out new ideas and techniques can lead to unexpected and exciting results. For example, incorporating natural elements like flowers or leaves into your ice designs can add a unique touch.
Another idea is to experiment with different freezing methods. Freezing the ice in layers, as mentioned earlier, is one approach, but you can also try freezing the ice in different shapes or molds to create more complex designs. Additionally, playing with lighting effects can enhance the visual impact of your ice art.
Don’t be afraid to think outside the box and push the boundaries of what’s possible with ice. By embracing creativity and innovation, you can create truly one-of-a-kind designs that captivate and inspire.