Mixing Ratios for Optimal Color Saturation in Ice
The Science of Color Saturation in Ice
Color saturation in ice is a fascinating intersection of art and science. When we think of ice, we often imagine it as clear or white, but with the right techniques, it can be transformed into a vibrant medium. The key lies in understanding the principles of light absorption and scattering. When light passes through ice, it interacts with the molecular structure, and the presence of impurities or dyes can alter its path, resulting in different colors. The goal is to achieve optimal saturation—where the color is vivid yet natural, without appearing artificial or muddy.
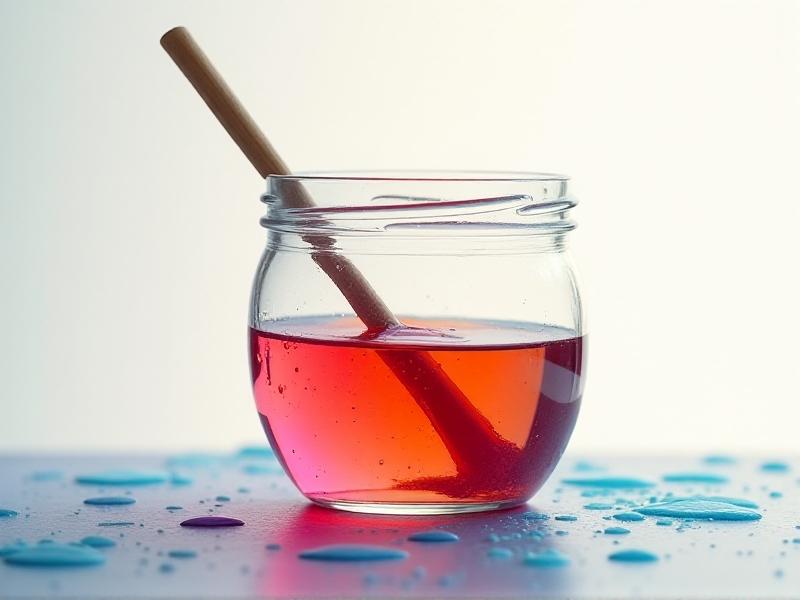
To achieve this, it’s essential to consider the type of dye or pigment used. Water-soluble dyes are often the best choice because they disperse evenly in the freezing process. The concentration of the dye plays a crucial role; too little, and the color will be faint, too much, and it may become opaque or uneven. Additionally, the temperature at which the ice freezes can impact the final result. Slower freezing allows for more uniform distribution of the dye, leading to smoother and more saturated colors.
Choosing the Right Dyes and Pigments
Not all dyes are created equal when it comes to coloring ice. The choice of dye or pigment can make or break the final result. Food-grade dyes are a popular option because they are safe, easy to use, and come in a wide range of colors. However, not all food dyes behave the same way when mixed with water and frozen. Some may separate or settle, leading to uneven coloration. It’s important to test different brands and types to find the ones that work best for your needs.
Natural pigments, such as those derived from fruits or vegetables, can also be used to create unique and subtle hues. For example, beet juice can produce a rich red, while spinach extract can yield a soft green. These natural options are ideal for those seeking an organic or eco-friendly approach. However, they may not be as vibrant as synthetic dyes, and their color intensity can vary depending on the source and concentration.
When selecting dyes, consider the intended use of the colored ice. If it’s for culinary purposes, ensure the dye is safe for consumption. For decorative or artistic applications, you may have more flexibility in your choices. Regardless of the dye type, always start with a small amount and gradually increase the concentration to achieve the desired saturation without overdoing it.
Mastering the Mixing Ratio
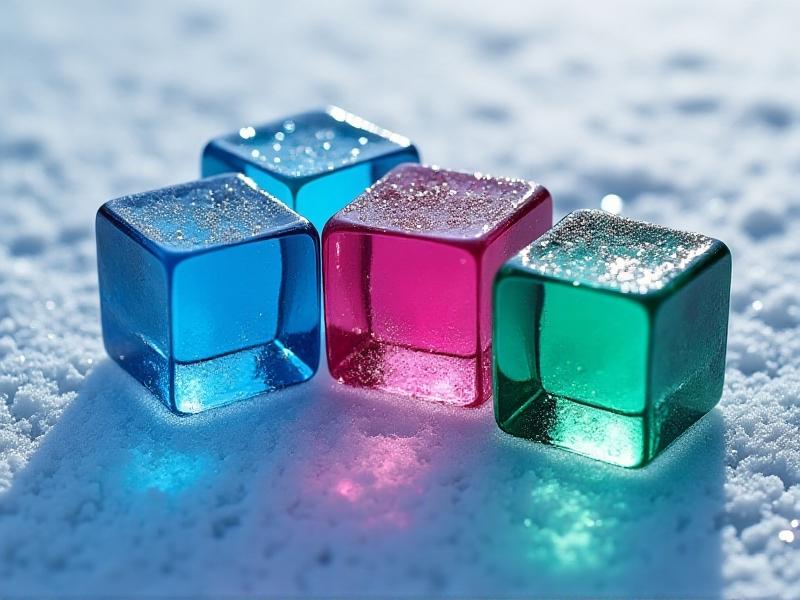
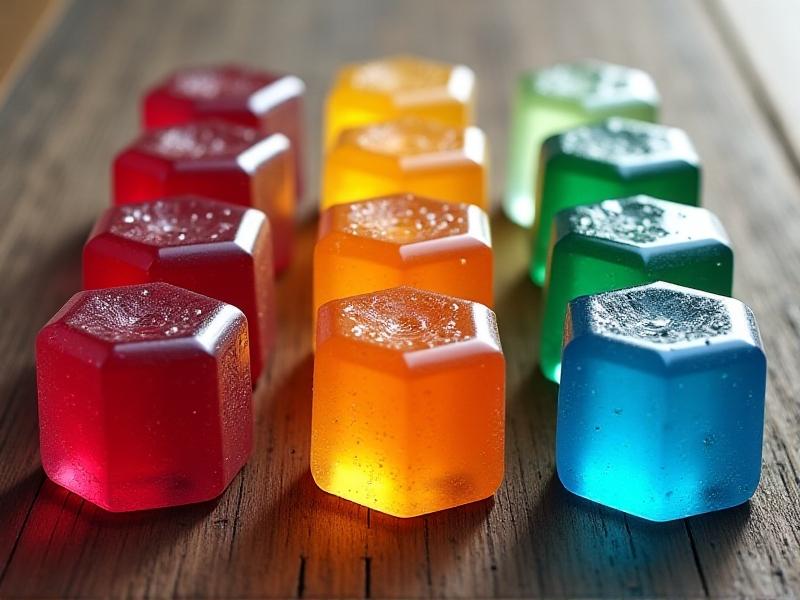
The mixing ratio of dye to water is perhaps the most critical factor in achieving optimal color saturation in ice. Too much dye can result in a cloudy or overly intense color, while too little can leave the ice looking pale and unremarkable. Finding the perfect balance requires experimentation and attention to detail. A good starting point is to use a ratio of 1 part dye to 10 parts water, but this can vary depending on the specific dye and desired intensity.
When mixing, ensure the dye is fully dissolved in the water before freezing. Any undissolved particles can lead to uneven coloration or streaks in the ice. Stirring thoroughly and allowing the mixture to sit for a few minutes can help achieve a uniform solution. For more complex colors, such as gradients or layered effects, you may need to prepare multiple mixtures with varying concentrations and carefully layer them during the freezing process.
It’s also worth noting that the type of water used can impact the final result. Distilled water is often recommended because it lacks impurities that could interfere with the dye’s performance. Tap water, depending on its mineral content, may alter the color or clarity of the ice. Always test your mixture in a small batch before committing to a larger project to ensure the results meet your expectations.
The Role of Freezing Techniques
Freezing techniques play a significant role in determining the final appearance of colored ice. The speed and method of freezing can affect everything from the clarity of the ice to the distribution of the dye. Slow freezing is generally preferred because it allows the dye to disperse evenly, resulting in a smoother and more consistent color. Rapid freezing, on the other hand, can trap air bubbles or cause the dye to clump, leading to a less desirable outcome.
One effective technique is directional freezing, where the ice is frozen from one direction, such as from the bottom up. This method encourages the dye to settle uniformly and minimizes the formation of air bubbles. Another approach is to use molds with specific shapes or textures that can enhance the visual appeal of the colored ice. For example, spherical or geometric molds can create interesting light refraction effects, adding depth and dimension to the color.
Temperature control is also crucial. Freezing at a slightly higher temperature, just below the freezing point of water, can yield better results than extremely cold temperatures. This allows the dye to integrate more seamlessly into the ice structure. Experimenting with different freezing times and temperatures can help you fine-tune the process to achieve the perfect balance of color and clarity.
Creative Applications of Colored Ice
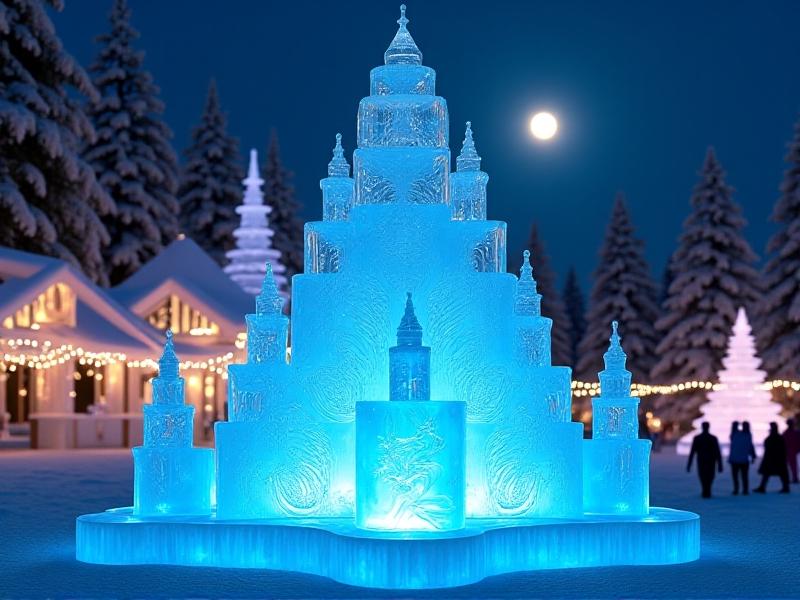
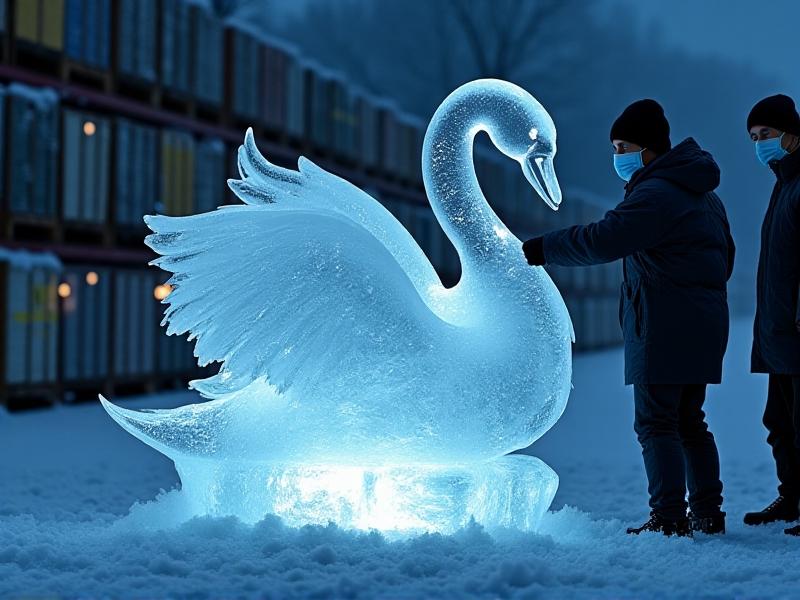
Colored ice isn’t just for drinks—it’s a versatile medium that can be used in a variety of creative applications. In the culinary world, it can add a visual pop to cocktails, desserts, or even savory dishes. Imagine a summer party with vibrant blue ice cubes in a punch bowl or a winter celebration with red and green ice sculptures adorning the table. The possibilities are endless when you harness the power of color saturation.
Beyond food and drink, colored ice can be used in art installations, photography, or even as a teaching tool. For example, it can demonstrate concepts of light refraction and color theory in a hands-on way. Artists can experiment with different shapes, sizes, and colors to create striking visual effects. In photography, colored ice can serve as a unique prop or background element, adding an unexpected twist to the composition.
The key to successful creative applications is to think outside the box and experiment with different techniques. Whether you’re a chef, artist, or hobbyist, colored ice offers a world of possibilities for adding a touch of magic to your projects. By mastering the principles of mixing ratios and freezing techniques, you can unlock the full potential of this captivating medium.
Tips for Achieving Consistent Results
Consistency is key when working with colored ice, especially for larger projects or professional applications. To achieve consistent results, it’s important to standardize your process as much as possible. This includes using the same type and concentration of dye, the same water source, and the same freezing techniques for each batch. Keeping detailed notes on your experiments can help you replicate successful outcomes and troubleshoot any issues that arise.
Another tip is to work in a controlled environment. Temperature fluctuations, exposure to light, or contamination can all affect the final result. If possible, work in a space where you can maintain consistent conditions throughout the process. For example, a dedicated freezer set to a specific temperature can help ensure uniformity across multiple batches.
Finally, don’t be afraid to iterate and refine your process. Achieving optimal color saturation in ice is as much an art as it is a science, and there’s always room for improvement. By staying curious and open to experimentation, you can continue to push the boundaries of what’s possible with this unique medium.