Layering Techniques for Multicolored Ice Carvings
Introduction to Multicolored Ice Carvings
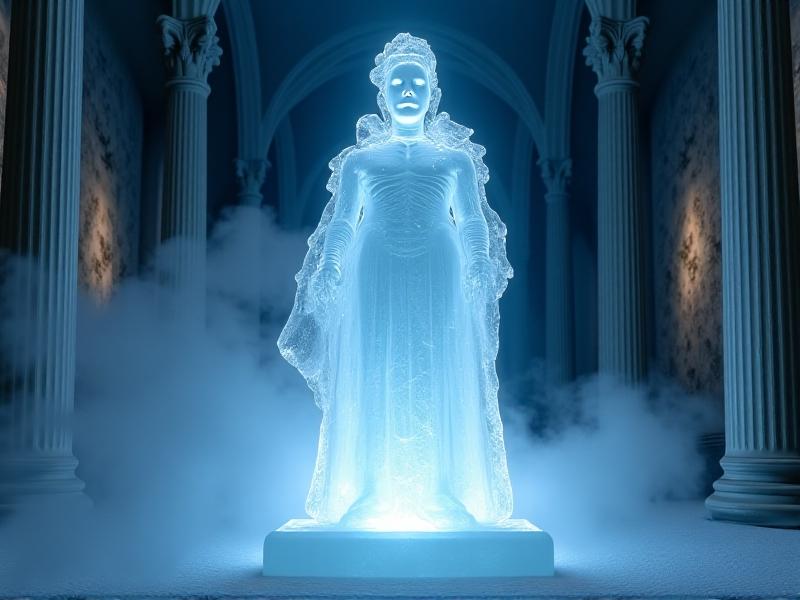
Ice carving is an art form that transforms frozen water into intricate designs, often seen at weddings, corporate events, and festivals. Multicolored ice carvings take this art to the next level by incorporating vibrant hues, creating a stunning visual impact. Layering techniques are essential for achieving these multicolored effects, allowing artists to blend colors seamlessly and add depth to their creations. This article explores the various layering methods, tools, and tips to help you master the art of multicolored ice carving.
The Science Behind Colored Ice
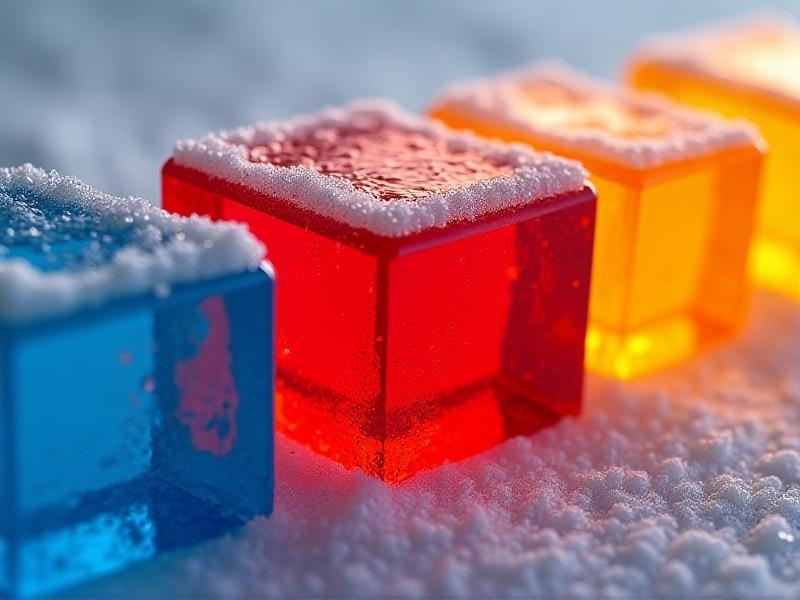
Understanding the science of colored ice is crucial for successful layering. When water freezes, it expands, and the addition of colorants can alter its freezing point and clarity. Different dyes and pigments behave uniquely in ice, affecting transparency and hue intensity. For instance, food coloring is a popular choice due to its safety and vibrant results, but other options like powdered pigments or natural dyes can also be used. The key is to experiment with concentrations and freezing times to achieve the desired effect. Layering colors requires precise timing to ensure each layer freezes properly before adding the next, preventing unwanted mixing and maintaining sharp color distinctions.
Essential Tools for Layering Techniques
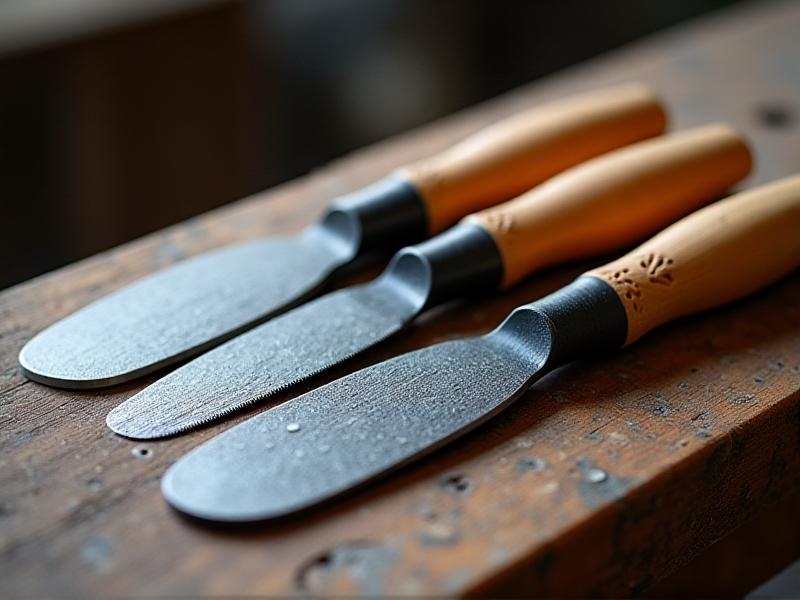
To create multicolored ice carvings, you’ll need a set of specialized tools. These include molds, carving tools, and freezing equipment. Silicone molds are ideal for layering, as they allow for easy removal of the ice block without damaging the layers. Carving tools like chisels, saws, and grinders help shape the ice once it’s frozen. A reliable freezer or cold room is essential for maintaining consistent temperatures during the layering process. Additionally, syringes or pipettes can be used to inject colored water between layers, ensuring precision and control. Investing in high-quality tools will make the layering process smoother and more efficient.
Step-by-Step Guide to Layering Colors
Layering colors in ice carvings is a meticulous process that requires patience and precision. Start by preparing your colored water solutions, ensuring they are well-mixed and at the right temperature. Pour the first layer of colored water into the mold and allow it to partially freeze. Once the surface is solid but still slightly pliable, add the next layer using a syringe or pipette to control the flow. Repeat this process for each additional layer, ensuring proper freezing times between applications. After all layers are frozen, remove the ice block from the mold and begin carving. This method allows for intricate designs and gradients, making your sculpture truly unique.
Creative Design Ideas for Multicolored Ice Carvings
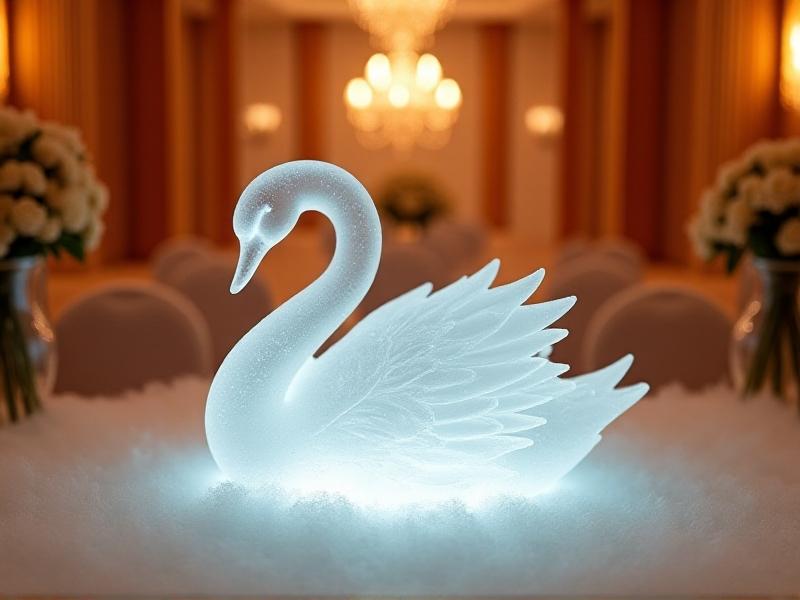
Multicolored ice carvings offer endless creative possibilities. Consider incorporating gradients, where colors blend seamlessly from one hue to another, creating a mesmerizing effect. Geometric patterns, such as stripes or chevrons, can add a modern touch to your design. For themed events, use colors and shapes that reflect the occasion, such as floral motifs for weddings or abstract designs for corporate events. Another innovative idea is to carve negative space into the ice, allowing light to pass through and enhance the colors. Experiment with different techniques and designs to find your unique style and create show-stopping pieces.
Tips for Maintaining Color Integrity
Maintaining the integrity of colors in ice carvings is essential for a polished final product. Use high-quality dyes that are specifically designed for freezing, as they are less likely to fade or bleed. Avoid overloading the water with colorant, as this can make the ice appear murky. Freeze each layer at a consistent temperature to prevent cracking or uneven freezing. When carving, work quickly to minimize melting, and keep the ice in a cold environment until it’s ready to be displayed. Regularly check the sculpture for any signs of color bleeding or distortion and make adjustments as needed. These tips will help ensure your multicolored ice carvings remain vibrant and visually stunning.
Advanced Techniques for Professional Sculptors
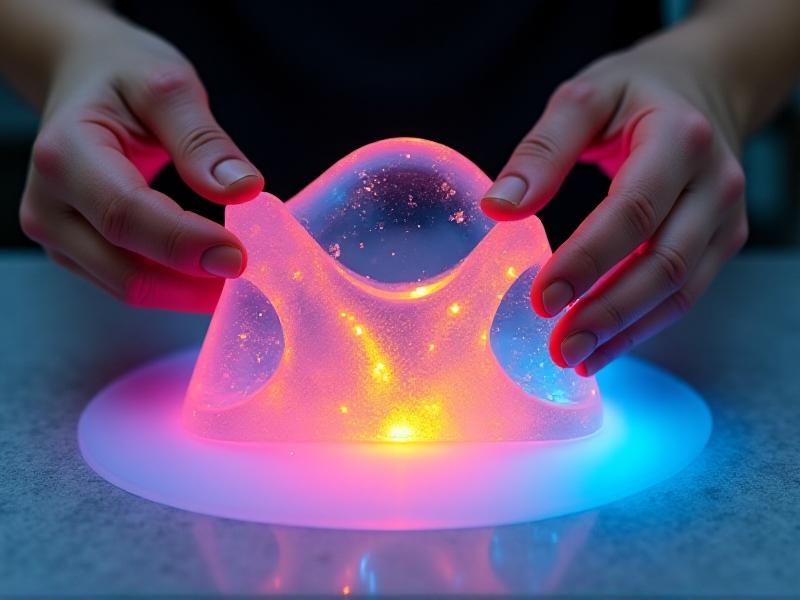
For professional sculptors looking to elevate their craft, advanced layering techniques can add complexity and depth to multicolored ice carvings. One such technique is the use of embedded objects, such as flowers or LED lights, which can be frozen within the layers for added visual interest. Another method involves carving intricate details into each layer before adding the next, creating a three-dimensional effect. Additionally, experimenting with different freezing temperatures and layering sequences can yield unique textures and patterns. These advanced techniques require practice and precision but can result in truly breathtaking sculptures that push the boundaries of ice art.
Displaying and Preserving Multicolored Ice Carvings
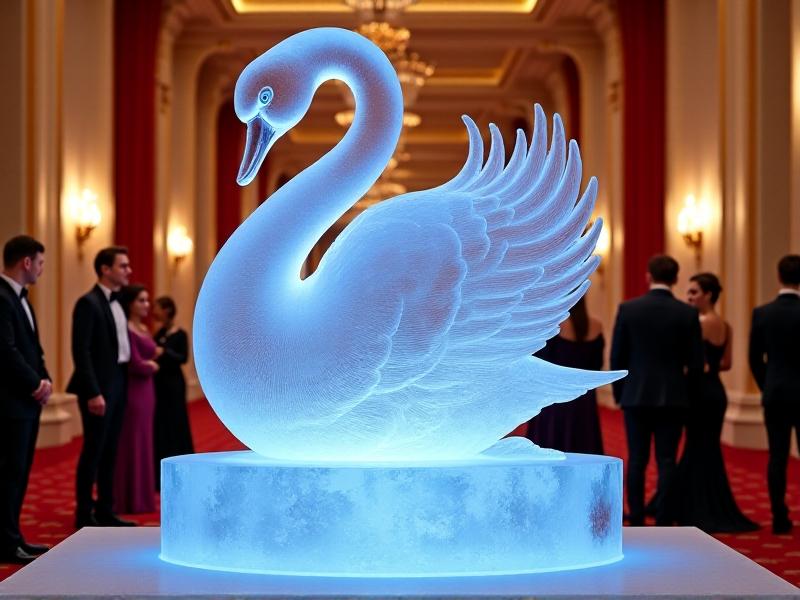
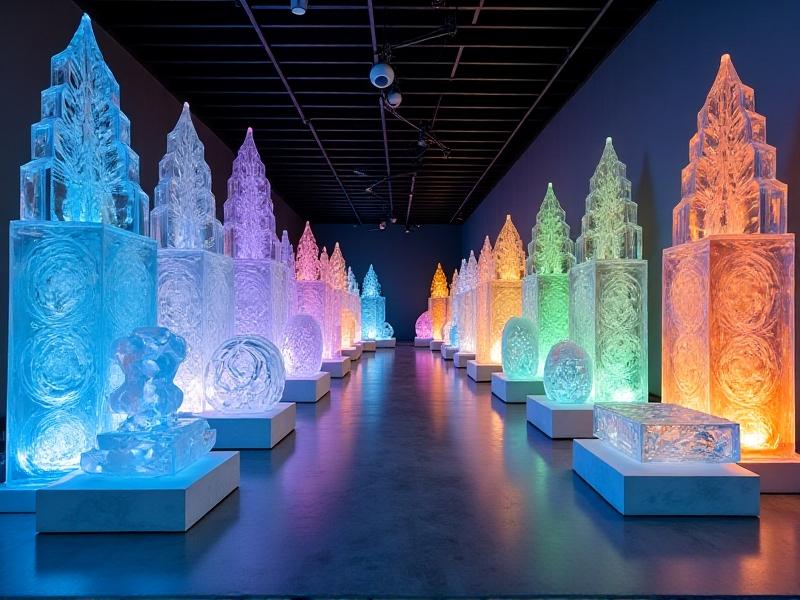
Displaying and preserving multicolored ice carvings is just as important as the creation process. Choose a location that is cold and well-ventilated to slow down melting. Use pedestals or stands to elevate the sculpture, making it the focal point of the event. For added effect, incorporate lighting that enhances the colors and creates a dynamic visual experience. To preserve the sculpture, consider using a spray sealant that forms a thin protective layer over the ice. Regularly monitor the sculpture and make adjustments as needed to maintain its appearance. With proper display and preservation techniques, your multicolored ice carvings will leave a lasting impression on your audience.